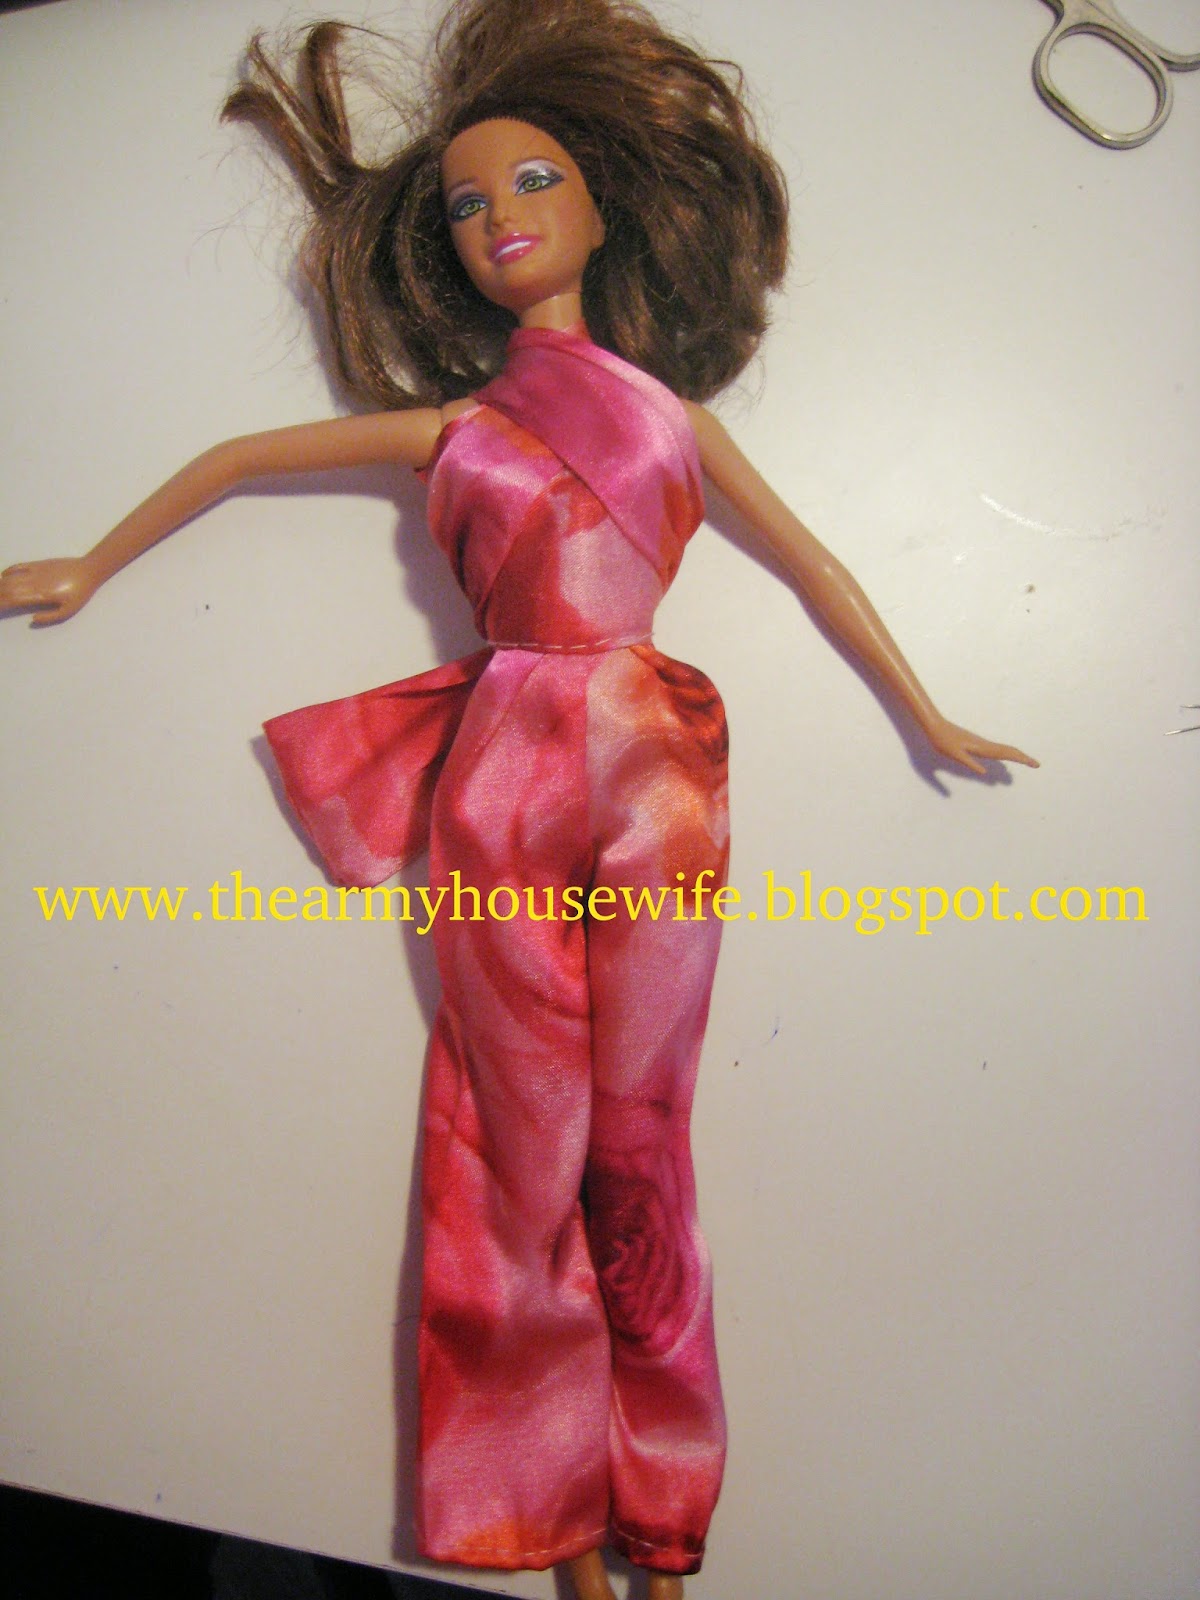
For this project I used a satin cloth belt. Cut two pieces for the pants and one triple for the top.
Cut from this two parts a J-shape piece and sewed them together to make a pair of pants.
I sewed the top and pants together like in the next picture .
We are ready to use it "5 in 1"
1 -over the neck
2-over the shoulders
3-again
4-one shoulder
5- no shoulders

This blog is about all the creative things in my life (crochet, sewing clothes, decoupage, knitting, embroidery, etc.). I like to reuse, recycle, up-cycle, re-purpose the things I already had. I don't like to throw away things that can be reused and to spend money for things I can make by myself.Enjoy!
вторник, 8 юли 2014 г.
вторник, 10 юни 2014 г.
MORE CLOTH TOYS
понеделник, 19 май 2014 г.
SHIRTS REFASHION
I removed the collar and the sleeves and change the front and the back side.
Now the buttons are on the back and I wear it half open.
It's very sexy!
The neckline was very big, so I removed it and change the back and the front side again.

The pieces I put on the back side, now there is a sexy opening.
This is the front with high neckline.
Same refashion here.
Now the buttons are on the back and I wear it half open.
It's very sexy!
The neckline was very big, so I removed it and change the back and the front side again.

The pieces I put on the back side, now there is a sexy opening.
This is the front with high neckline.
Same refashion here.
четвъртък, 27 март 2014 г.
вторник, 25 февруари 2014 г.
EASY BARBIE VESTS
For this vest I needed a piece of fur and ribbon.
I stringed the cloth on the ribbon and made a few small stitches under the hands.
This is a piece of a baby shirt sleeve. I sewed like is shown on the picture.
This is the result.
I used a bead instead of a button.
This is made by fur too and piece of elastic (a ribbon can be used too).
I found this toy in the thrift shop, just made a holes for the hands and add a snap button.
понеделник, 27 януари 2014 г.
EASY COATS FOR BARBIES
I used this stuffed dog for making a doll coat.
Unsew the stitches on the belly, removed the head, the tail and the "second pair of legs".
I cut a small pieces for the hands on the "front legs" , made a collar from the dog head and add bead for a button.
From the other pieces I made a hat, boots,a bag and gloves.
This is the "ski- look" :-)
This is the elegant.
This is another coat made by other stuffed animal.
This is a gift cloth bag. I cut a rectangular piece without removing the ribbon.
Sew all over and make two holes for the hands.
From other cloth I made the sleeves.
This is the result.
Unsew the stitches on the belly, removed the head, the tail and the "second pair of legs".
I cut a small pieces for the hands on the "front legs" , made a collar from the dog head and add bead for a button.
This is the "ski- look" :-)
This is the elegant.
This is another coat made by other stuffed animal.
This is a gift cloth bag. I cut a rectangular piece without removing the ribbon.
Sew all over and make two holes for the hands.
From other cloth I made the sleeves.
This is the result.
Етикети:
Barbie,
before-after,
coat,
DIY,
doll,
gift bag,
hat,
purse,
re-purpose,
recycle,
reuse,
ribbon,
stuffed toy
Абонамент за:
Коментари (Atom)


